Quick n' dirty blog with Astro and Umbraco
I was actually writing a follow-up to my previous post, when an Umbraco community member reached out with some Astro related stuff. One thing led to another, and I decided to write this post now, rather than when I had planned it (which was later).
So on the agenda today is: Build an Astro blog, powered by Umbraco, with the least possible amount of work involved.
Expect corners being cut, hacks being employed and a general lack of perfection 🙃
The resulting code is available in this GitHub repo. Instructions for running the demo are in the GitHub README.
The Astro blog template
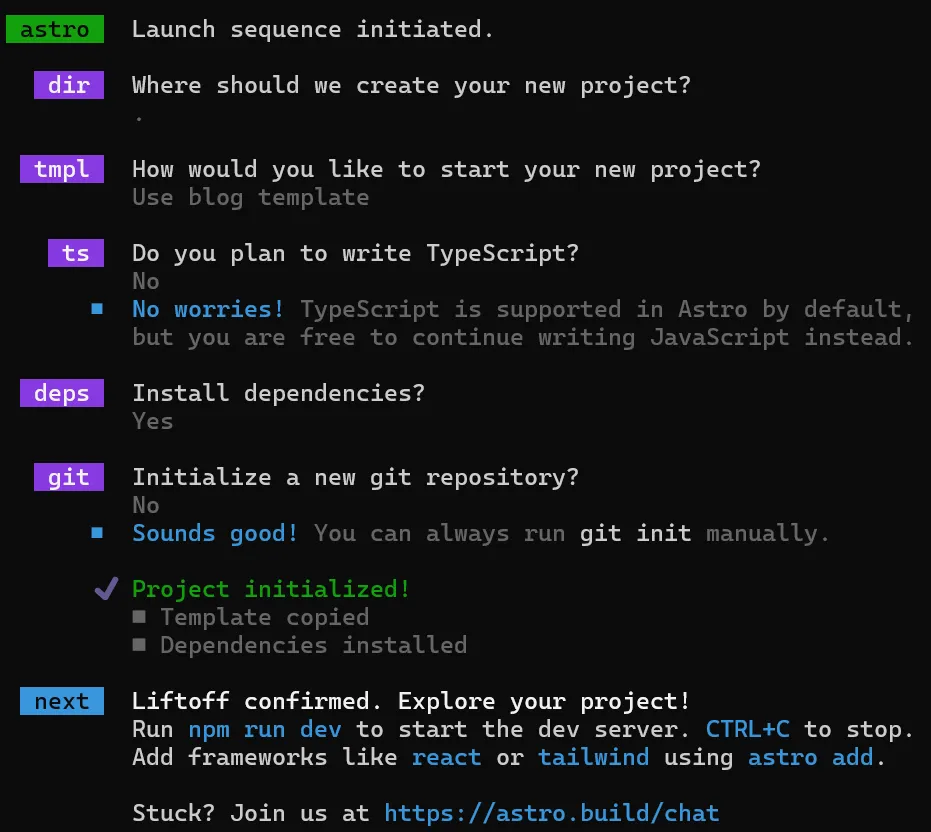
Astro ships with a blog template, so that’s a convenient starting point. Fire up a terminal and go:
npm create astro@latest
…and complete the questionnaire in whatever fashion you fancy, as long as you pick the “blog template” when asked:
When the terminal is done, a fully functional blog has been created. Run npm run dev in the terminal, and the blog will be running on http://localhost:4321/.
The headless CMS
At this point, the blog is powered by markdown - each blog post is a markdown file. Pretty slick if you ask me.
But the task at hand is to use Umbraco and the Umbraco Delivery API to power the blog. So an Umbraco site is needed.
Create a new directory, open a terminal and install Umbraco:
dotnet new umbraco
Conveniently, Umbraco ships a NuGet package with blog sample data, so let’s install that too:
dotnet add package Umbraco.Sample.Headless.Blog
Now open appsettings.json and make sure the Delivery API is enabled, by adding the following in the CMS section:
...

"CMS": {
  "DeliveryApi": {
	"Enabled": true
  },

...
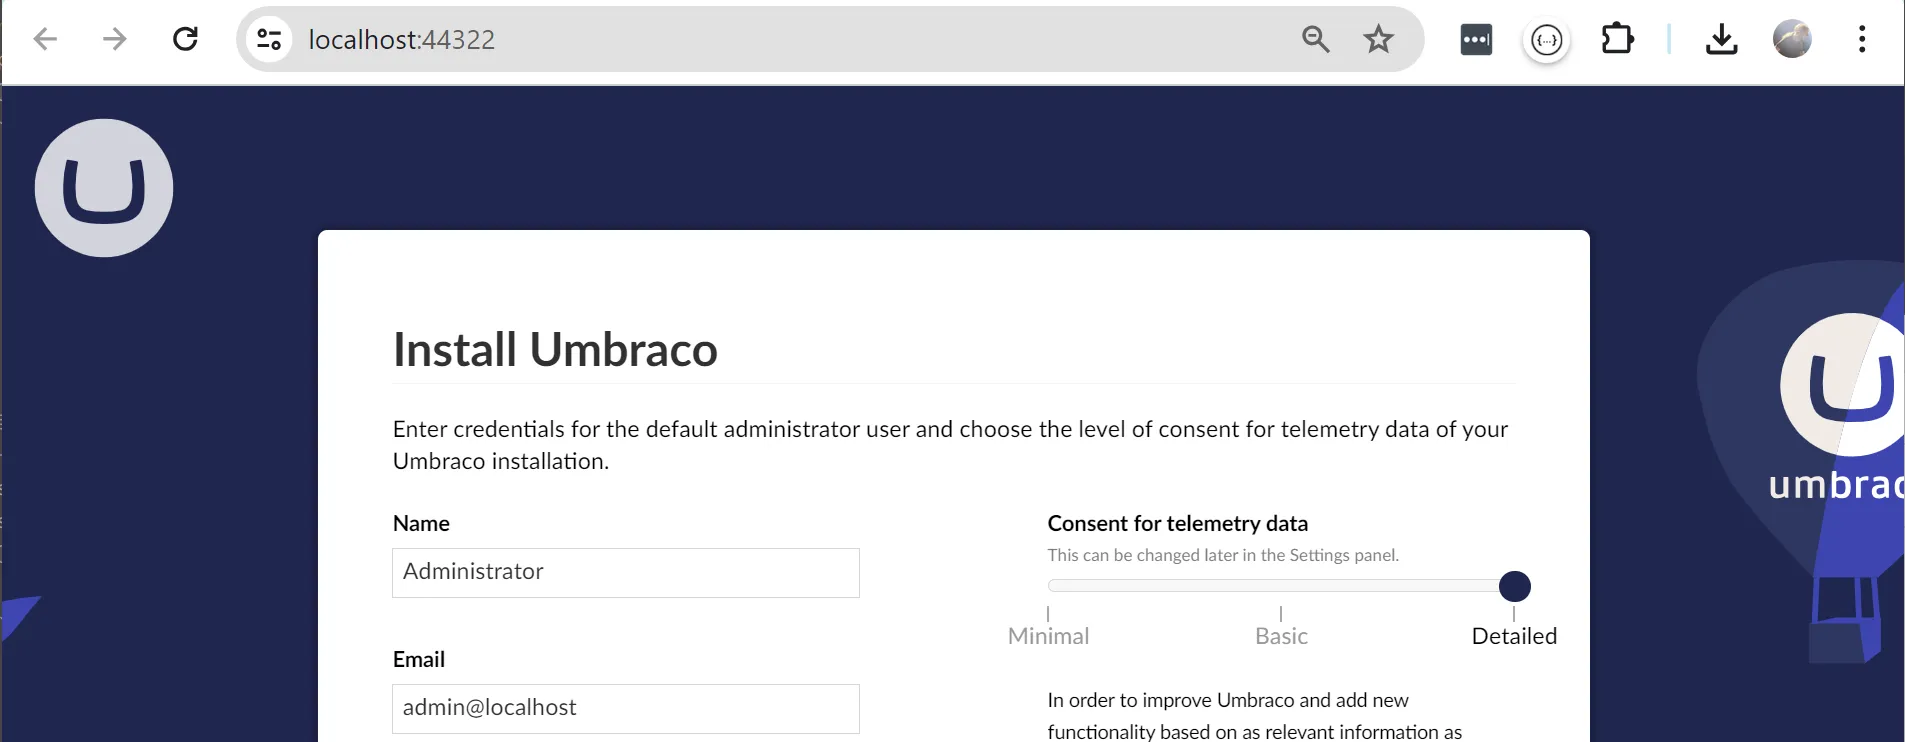
And with that, Umbraco is ready to go. Start it from the terminal with dotnet run, and soon it will be up and running on some localhost URL. Mine is running on https://localhost:44322. Yours might be using a different port 🤷
Open the URL in a browser and finish the install wizard (just pick the defaults).
Once that’s all done, login to the backoffice and you’ll find the sample blog data waiting for you:
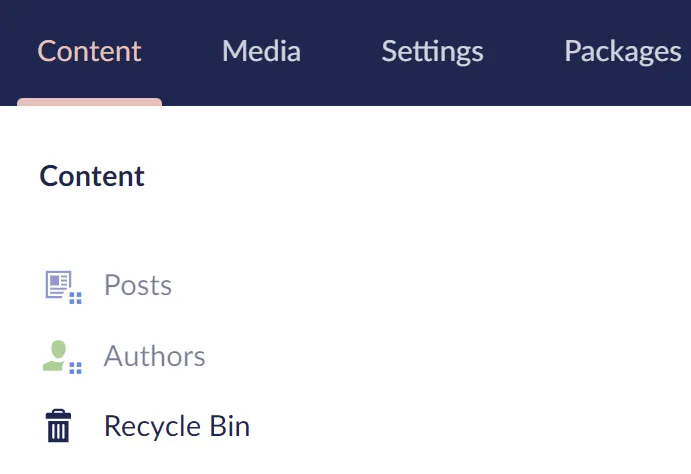
It’s not yet published, so let’s do that. In turn, open each root item (Posts and Authors), and:
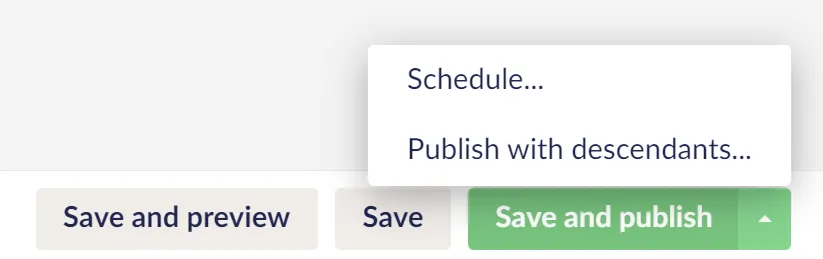
- Click the little up-arrow on the big, green “Save and Publish” button and pick “Publish with descendants…”:
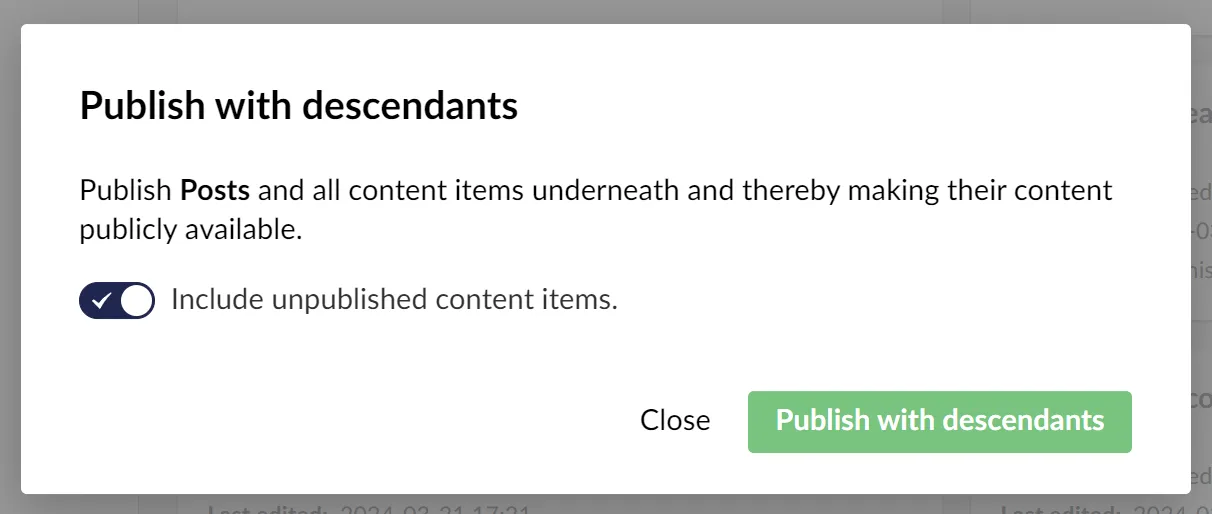
- In the resulting dialog, tick “Include unpublished content items” and hit “Publish”:
When everything is published, you can see the posts served headlessly by the Delivery API.
Connecting Astro and Umbraco
Umbraco runs HTTPS with a self-signed developer SSL certificate, which Node.js does not accept. To quickly bypass the certificate authorization in Node.js, open astro.config.mjs and add:
process.env.NODE_TLS_REJECT_UNAUTHORIZED = 0;
I did say there would be corner cutting in this post 😆
Now, to fetch blog posts from Umbraco for the blog post overview page, open \src\pages\blog\index.astro and replace the Astro bit with this:
---
import BaseHead from '../../components/BaseHead.astro';
import Header from '../../components/Header.astro';
import Footer from '../../components/Footer.astro';
import { SITE_TITLE, SITE_DESCRIPTION } from '../../consts';
import FormattedDate from '../../components/FormattedDate.astro';

const response = await fetch(
	'https://localhost:44322/umbraco/delivery/api/v2/content?fetch=children:/',
	{
		headers: {
			'Start-Item': 'posts'
		}
	}
);
const result = await response.json();

// map the response to a format this view can understand
const posts = result.items.map(post => ({
	slug: post.route.path,
	data: {
		title: post.name,
		pubDate: new Date(post.createDate),
		heroImage: `https://localhost:44322${post.properties.coverImage[0].url}`
	}
}));
---
As for the blog post details page \src\pages\blog\[...slug].astro, replace the entire thing with this:
---
import BlogPost from '../../layouts/BlogPost.astro';

export async function getStaticPaths() {
	const response = await fetch(
		'https://localhost:44322/umbraco/delivery/api/v2/content?fetch=children:/',
		{
			headers: {
				'Start-Item': 'posts'
			}
		}
	);
	const result = await response.json();
	const posts = result.items;

	// map the response to a format the BlogPost component can understand
	return posts.map((post) => ({
		params: { slug: post.route.path },
		props: {
			data: {
				title: post.name,
				description: post.properties.excerpt,
				pubDate: new Date(post.createDate),
				updatedDate: new Date(post.updateDate),
				heroImage: `https://localhost:44322${post.properties.coverImage[0].url}`
			},
			content: post.properties.content.markup
		},
	}));
}

const post = Astro.props;
---

<BlogPost {...post.data}>
  <Fragment set:html={post.content} />
</BlogPost>
Notice how I’m transforming the blog posts from the Delivery API output to a format that can be utilized by the default Astro blog template views and components.
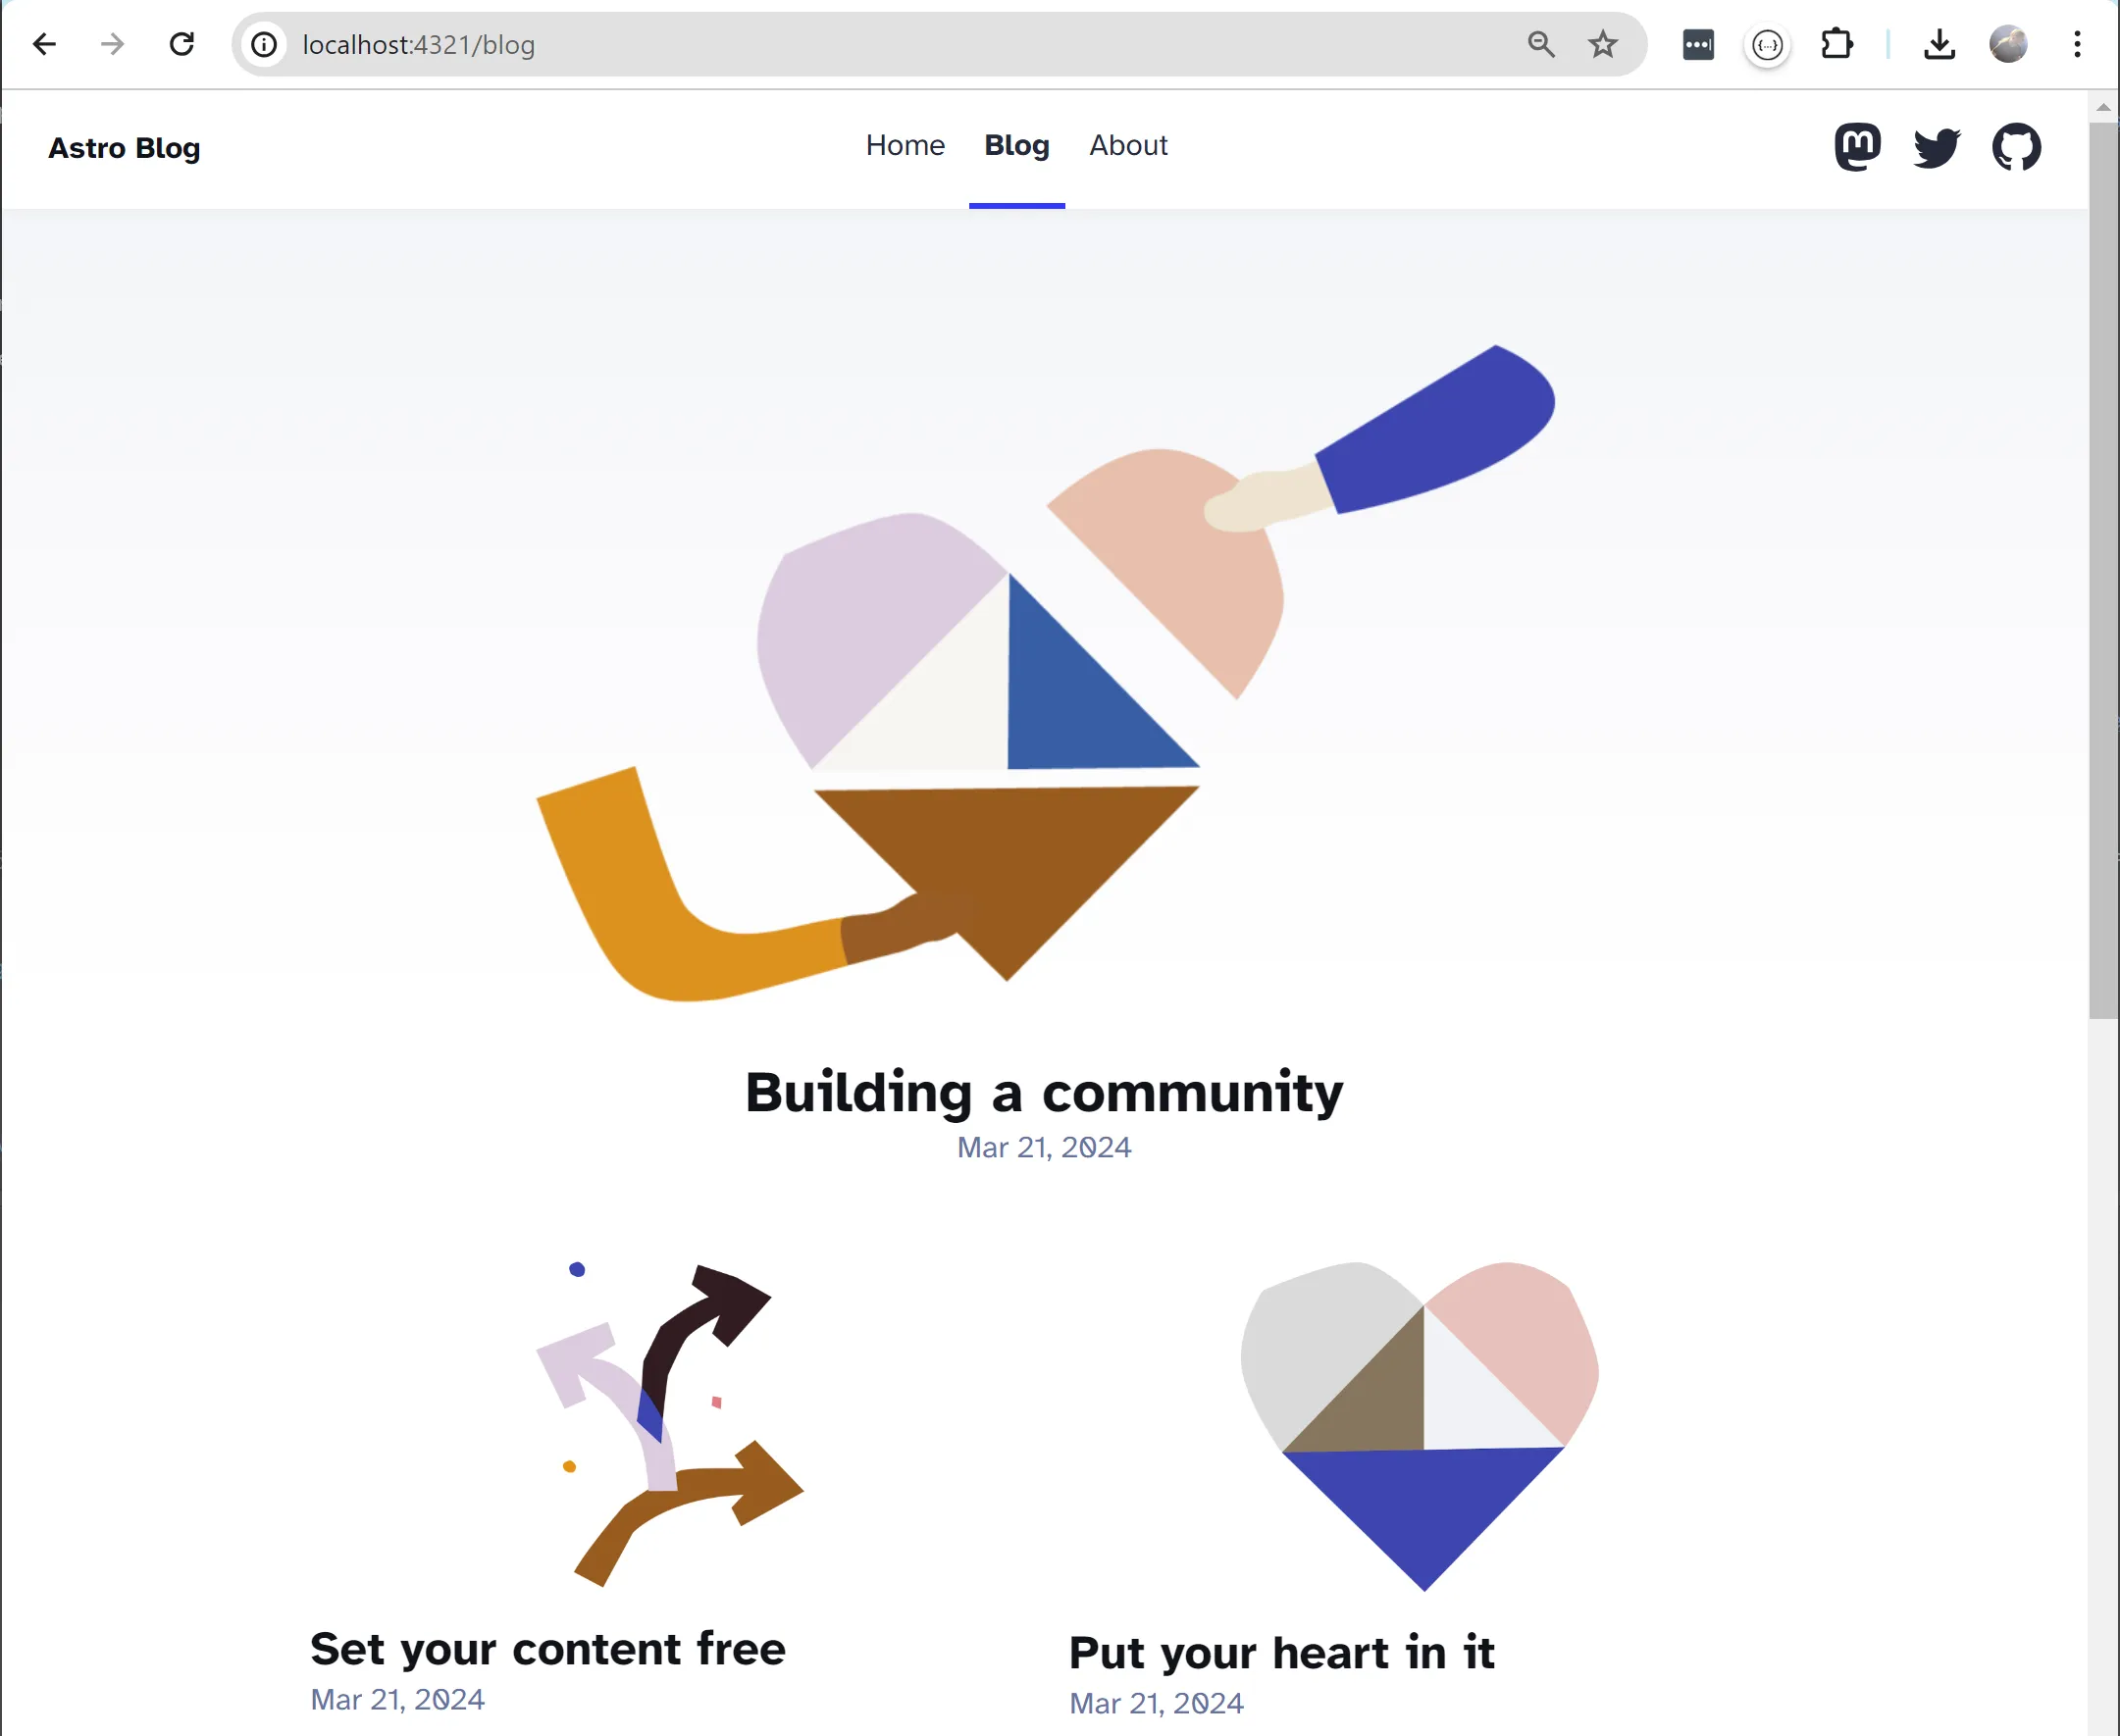
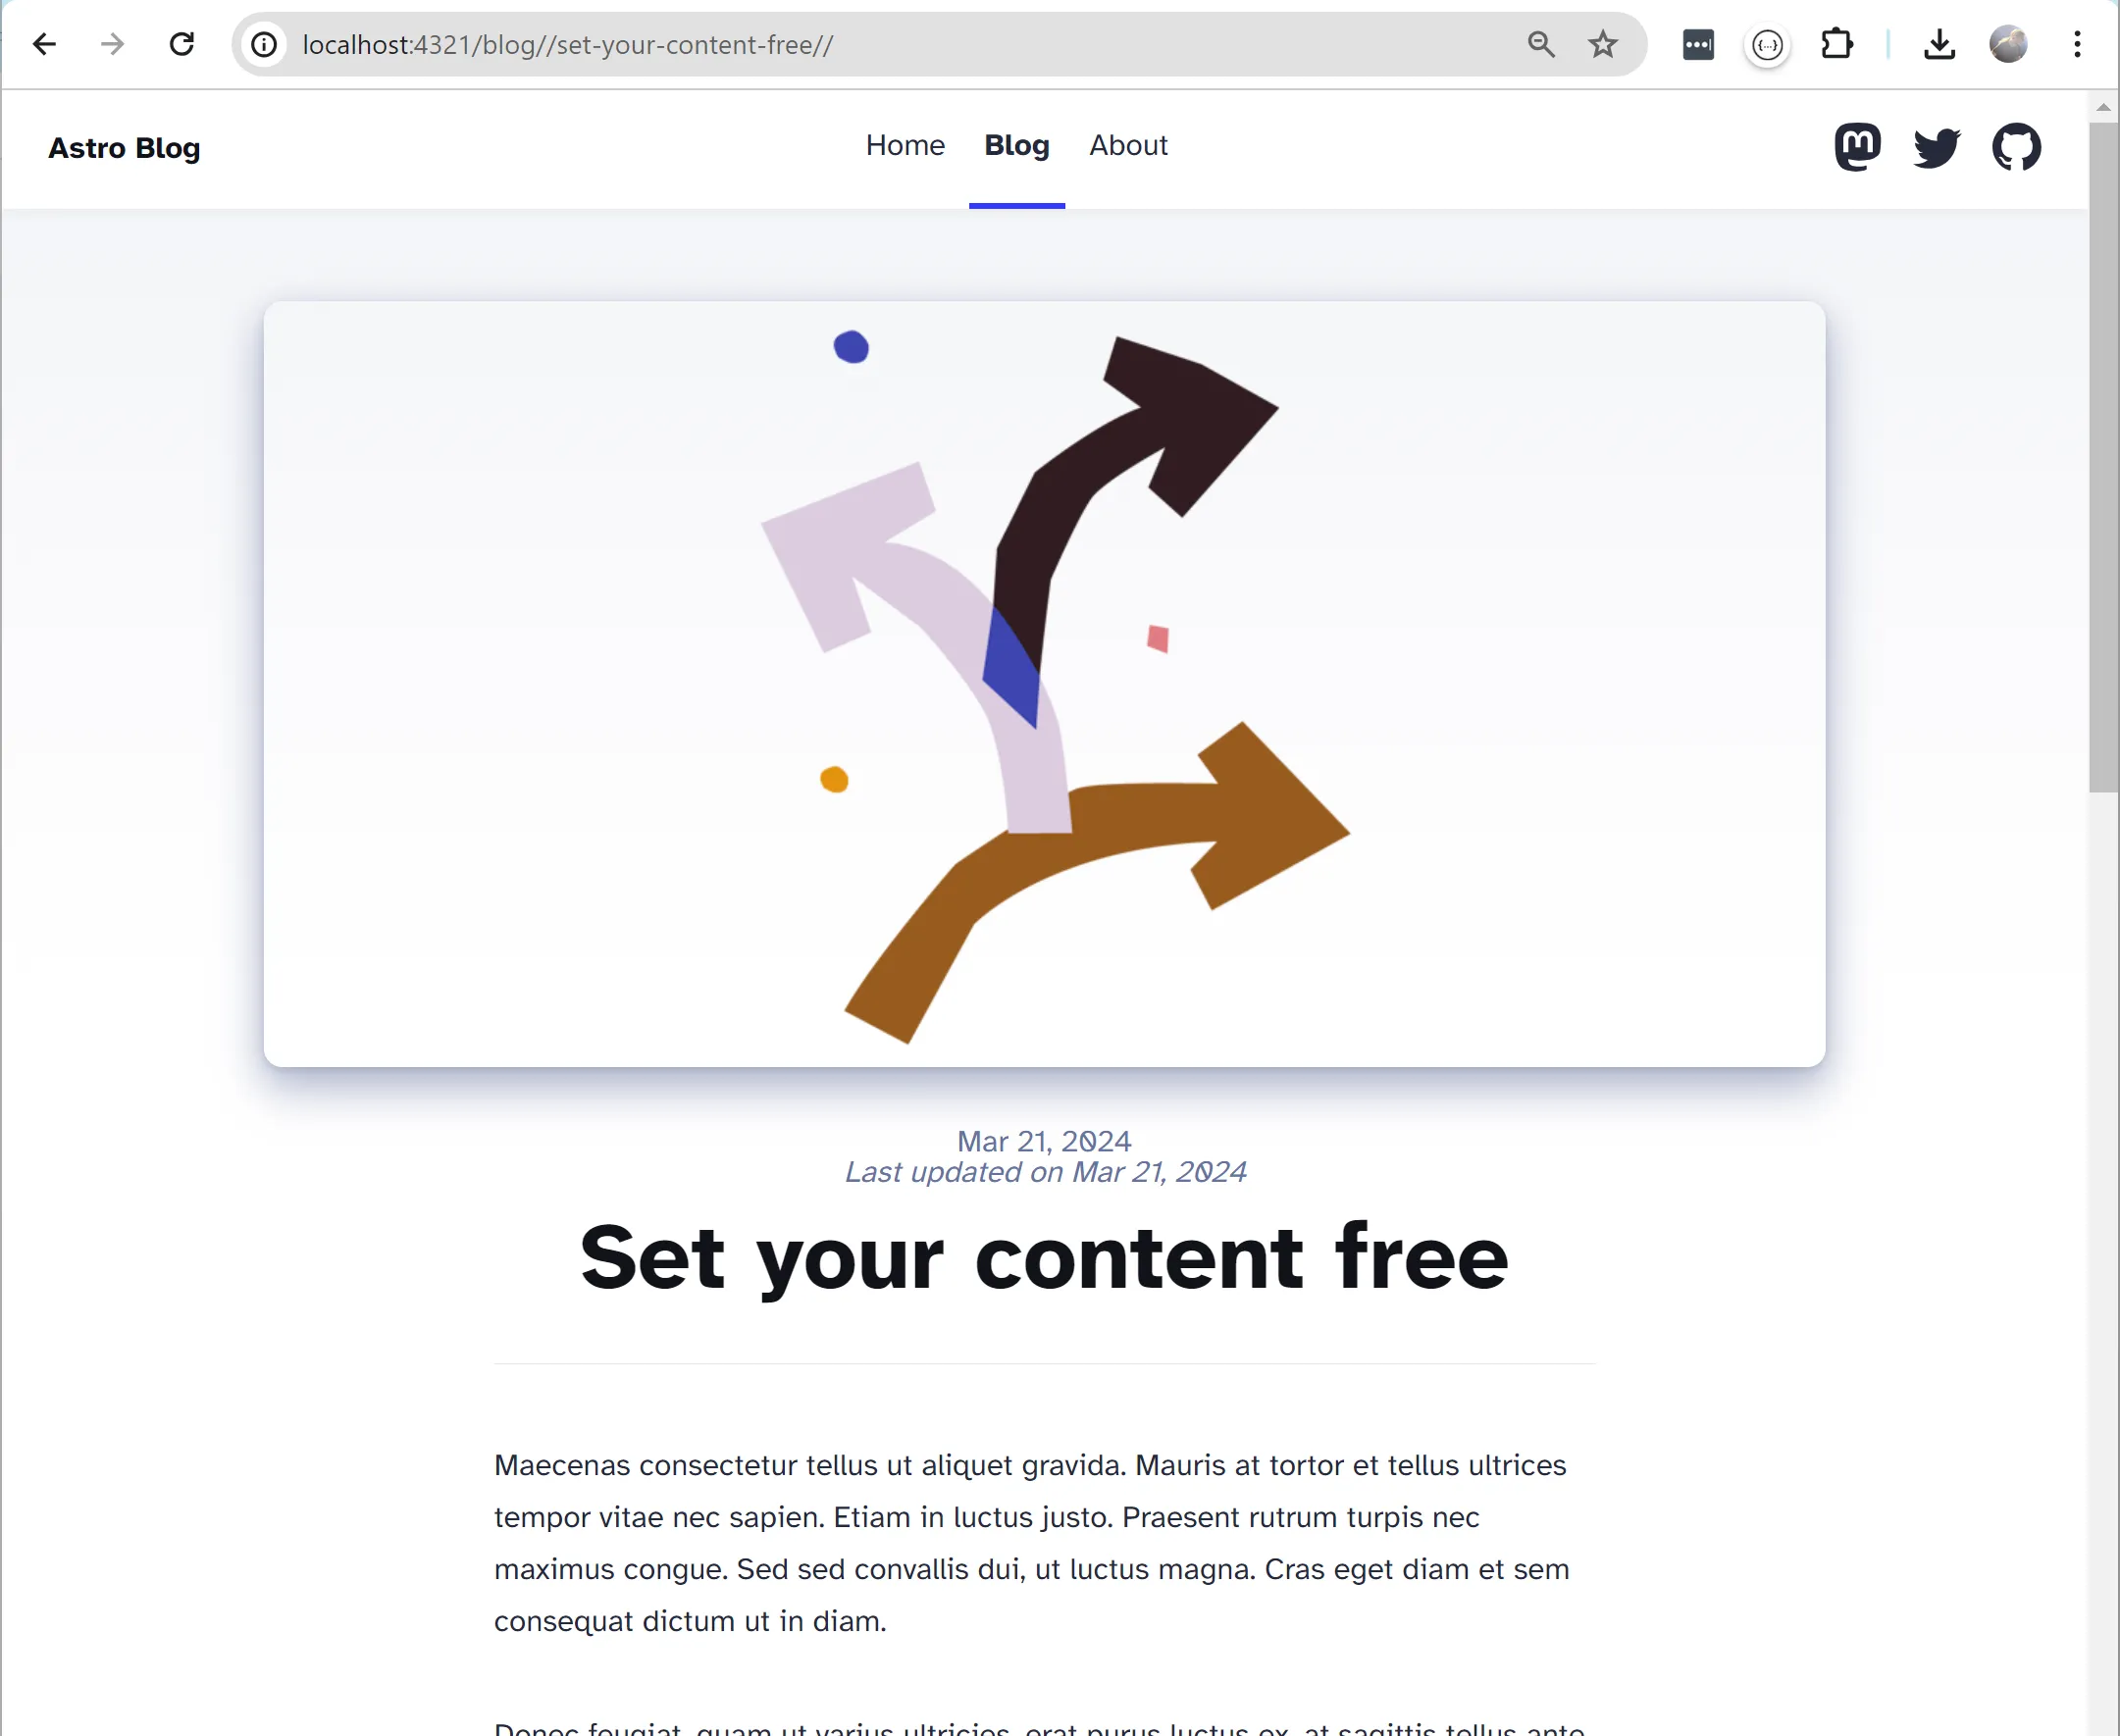
Fire the blog back up with npm run dev, and marvel at the blog posts being fetched from Umbraco 🎉
Stuff to improve
So this was all a bit hacky. Dare I say: Mission accomplished?
Here’s a list of things you can try improving:
- Don’t hardcode
NODE_TLS_REJECT_UNAUTHORIZED. Use an environment variable to configure it, and only disable it when developing locally. - On the subject of environment variables, add another one for the Umbraco host, because that will change per environment.
- There is duplicate code in the two edited
.astrofiles, both for fetching posts and calculating image paths. Move this to a service that can be imported and utilized in both files. - The post images are referenced with an
<img/>tag, and thus served directly from Umbraco. Use theImagecomponent from Astro instead, so Astro can cache and optimize the images when runningnpm run build. - Investigate property expansion and limiting in the Delivery API. This helps shaping the data fetched from Umbraco to avoid over-fetching.
- The Umbraco blog post model contains the post author. Maybe show the author picture and name on the post details page?
Happy hacking 💜