Content editor preview for static websites

Static site generation is a brilliant technique for creating high-performance sites. Pair it with a headless CMS and you’ve got a winning combination!
That is, until you need to support preview of unpublished content from your headless CMS 😨
Fortunately, it doesn’t have to be a hair-pulling, teeth-grinding or sleep depriving task. In this post I’ll explore setting up content preview in a statically generated site.
The setup
I’ll be working on top of the cafe site I built in a previous post.
While you don’t have to read the previous post to follow the concepts of this post, it might just help all the same. And if you want to follow along in the source code, reading the previous post is definitively going to make things easier.
A quick recap of the setup from the previous post is in order, though:
- The site is built with Astro.
- It is utilizing static site generation.
- Cloudflare Pages is used as hosting for the site.
- Umbraco is used as the backing headless CMS, using the Delivery API to power the site.
Preview vs. static site generation
By its very nature, pure static site generation is a really bad fit for anything that is dynamic - like content preview.
In principle, static site generation could be used for content preview. But to pull that off, the site would have to be rebuilt and deployed whenever any content changes were saved, regardless of whether they actually had to be previewed.
First of all, this would be a horrible waste of compute resources and not any kind of sustainable. Secondly, the editing experience would be terrible, because the editors would have to wait for a full deployment to preview their content changes.
In other words, something else is needed. Enter SSR - Server-Side Rendering.
SSR is essentially the opposite of static site generation. And it’s ineffective. And it’s slow in comparison. But it’s necessary for things of dynamic nature.
A preview environment
And thus a new preview environment is required, because SSR definitively should not be a thing in the production environment.
…ergh, infrastructure management 😞
Luckily, Cloudflare comes to the rescue. Any new branches that are published to the GitHub repo (that is, not the main branch) automatically triggers a deployment to a dedicated preview environment. Per branch, even.
In other words, the first order of business is to create a preview branch, push it to GitHub and let Cloudflare create the preview environment automagically ✨
Enabling SSR
Now that the infrastructure is in place, it’s time to get SSR up and running.
With Astro, SSR requires an adapter. The adapter connects Astro to something that can handle the server-side rendering at request time. Astro ships with a few of these adapters, and conveniently there is an Astro adapter for Cloudflare.
Utilizing the magic bestowed upon us by Node (and likely the hard work by the Astro dev team), all that’s needed to install the adapter is executing a single terminal command in the site folder:
npx astro add cloudflare
The terminal goes on to ask a couple of questions, after which the Cloudflare adapter is installed and ready to go.
The command updates the astro.config.mjs file, adding the required Astro configuration for the adapter:
import cloudflare from "@astrojs/cloudflare";

...

export default defineConfig({
   output: 'server',
   adapter: cloudflare()
});
As long as the preview branch is active, this is all fine; the production environment builds from the main branch, so there is no risk of disturbing the production site.
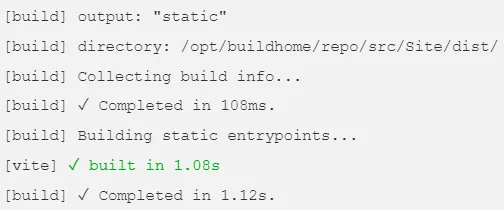
Commit, push to GitHub and wait for the Cloudflare deployment. As expected, the Cloudflare build log shows Astro building for SSR using the Cloudflare adapter:
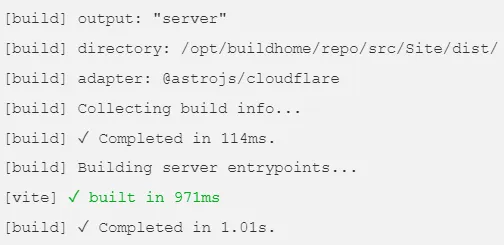
When the deployment is completed, SSR is enabled in the preview environment, and the site loads content headlessly from Umbraco on each request 🚀
Job done? Well, not quite. The page still only loads published content. Let’s fix that.
Fetching preview content from Umbraco
The Umbraco Delivery API allows for fetching unpublished (draft) content by means of an API key. The API key is defined in appsettings.config:
"Umbraco": {
  "CMS": {
    ...
    "DeliveryApi": {
      "Enabled": true,
      "ApiKey": "my-super-secret-api-key"
    },
    ...
  }
}
Following the Delivery API documentation, The API key should be supplied in an Api-Key header, and requests for preview content in a Preview header. That I can certainly do 🤓
For the time being I’ll settle for hard-coding the headers in index.astro:
const response = await fetch(
	`${import.meta.env.UMBRACO_SERVER_URL}/umbraco/delivery/api/v2/content/item/home`,
	{
		headers: {
			'Api-Key': 'my-super-secret-api-key',
			'Preview': 'true',
		}
	}
);
Now fire the site up locally with npm astro dev and let’s put this to the test. In Umbraco, make some changes to the Home page and save it (don’t publish it).
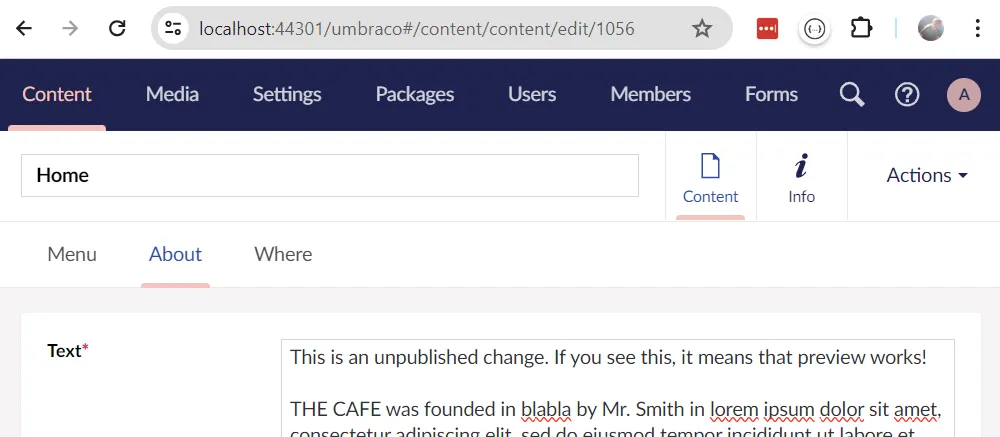
…then reload the site and verify that the unpublished changes are rendered.
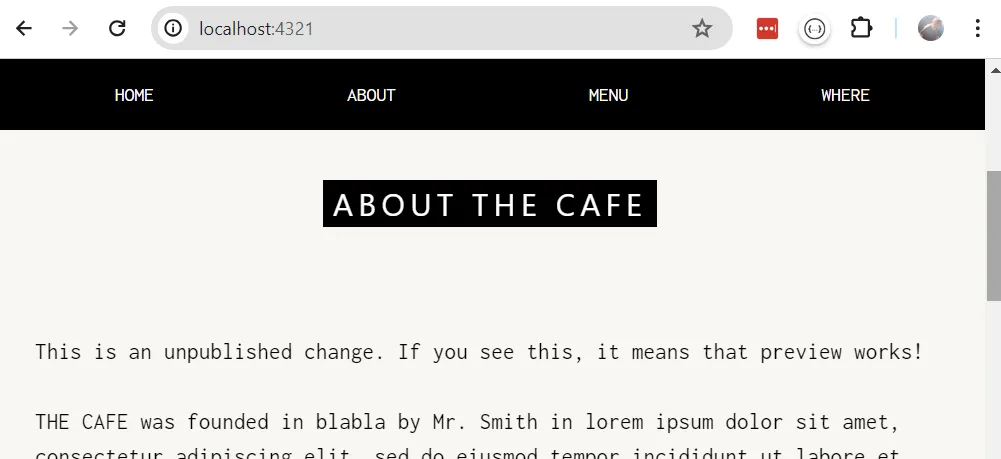
Success 🎉
Before you push this to GitHub to test it on the Cloudflare preview environment, remember to publish the appsettings.json changes to the deployed Umbraco site first (mine is in Azure as per the previous post). Otherwise the Delivery API requests for preview content will fail 🔐
Dual purpose Astro config
At this point it should be clear that astro.config.mjs is an essential piece of this whole puzzle:
- In the
previewbranch it is configured for SSR to handle content previews dynamically. - In the
mainbranch it is configured for static site generation to build the production environment.
This won’t work in the long run. Eventually someone will merge the two branches, causing one of the environments to fail.
Luckily, astro.config.mjs is not a static configuration. It is a script that is executed at build time. And it can read environment variables 🤘 which is why you’ll see this in the .env.development file:
# Comment this in to use Server-Side Rendering (SSR)
# USE_SSR = 1
The variable is used in astro.config.mjs to conditionally apply SSR:
import { loadEnv } from "vite";
import cloudflare from "@astrojs/cloudflare";

const { USE_SSR } = loadEnv(process.env.NODE_ENV, process.cwd(), "");

// construct the Astro config based on the configured environment variables
const config = USE_SSR
  ? {
     output: 'server',
     adapter: cloudflare()
  }
  : {
     output: 'static'
  };

// https://astro.build/config
export default defineConfig(config);
Now, remember how I hardcoded the API key and preview content access in index.astro? Well, that won’t work once the preview branch is merged into main; if it isn’t amended, the production environment will be fetching preview content by default.
Also, it is really horrible to hardcode the API key, so I’ll add yet another environment variable to hold it:
# Add your Umbraco API key here.
UMBRACO_API_KEY = 'my-super-secret-api-key'
…and update index.astro to only load preview content when Astro is in SSR mode:
const apiKey = import.meta.env.UMBRACO_API_KEY;
const ssr = import.meta.env.USE_SSR;

const response = await fetch(
    `${import.meta.env.UMBRACO_SERVER_URL}/umbraco/delivery/api/v2/content/item/home`,
    {
        headers: {
            'Api-Key': apiKey,
            'Preview': ssr ? 'true' : 'false',
        }
    }
);
Before all this can be pushed to GitHub and tested in the wild, the Cloudflare preview environment variables must be configured to match. Otherwise the preview environment will revert to static site generation:
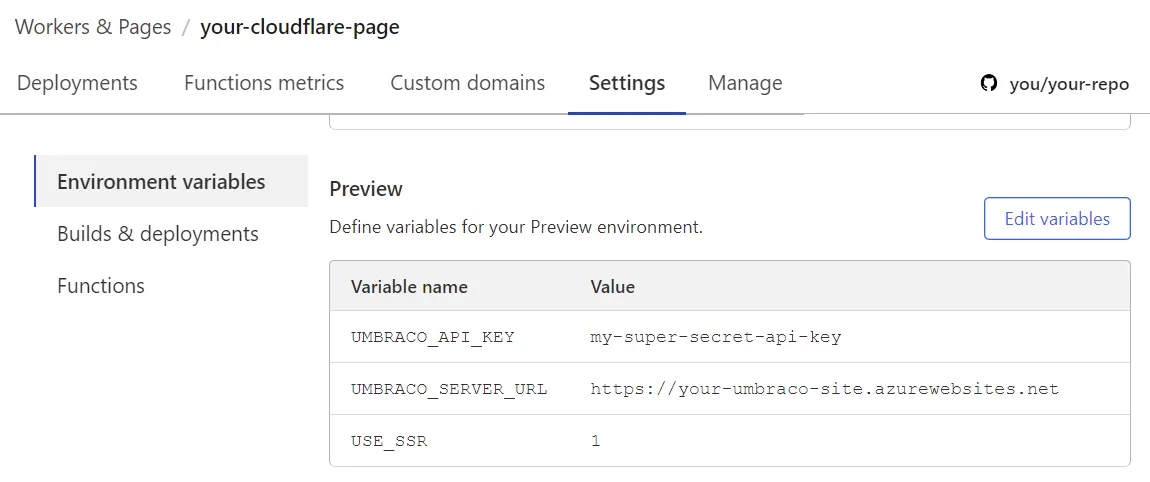
Pushing these changes to GitHub won’t produce any noticeable changes on the preview environment site. Which is exactly the point 👍
Merging preview into main and pushing to GitHub triggers yet another Cloudflare deployment - this time to the production environment. In the build log it shows that Astro still builds for static site generation:
…and in turn, no noticeable changes are seen on the production environment site either. It’s all “just” statically generated at build time.
Protecting the preview environment
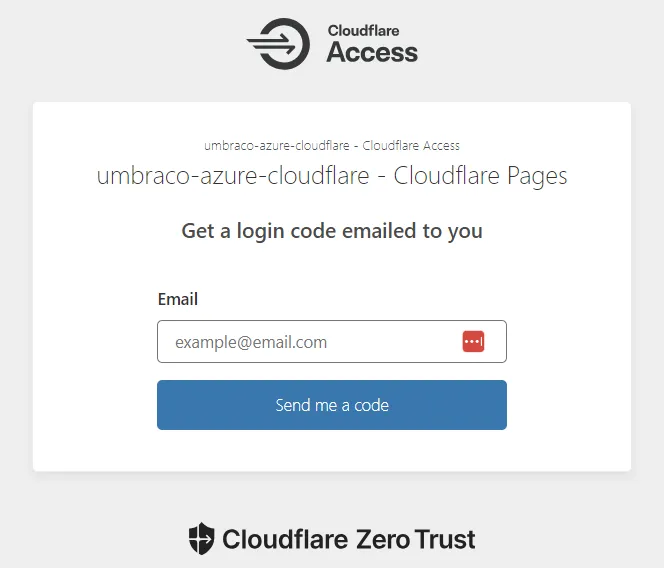
As I stated in the beginning of this post, I am a firm believer in locking down preview environments so they are inaccessible without proper authentication. Indeed, if you try to reach my preview environment site, you’ll be met by an authorization challenge from Cloudflare Access.
Since this post has already turned out lengthier than I intended, I will create a follow-up with the Cloudflare Access learnings I gained while setting it up for this post.
Bonus: Improving the editor experience
I think all of this is really neat. Unfortunately, even the neatest of features have a tendency to be underused if they are not readily accessible when needed by the users - the editors in this case. So before I round this post off, I have one more trick up my sleeve to show you.
In the previous post I installed my two No-Code packages. To the keen observer, this caused the Save and Publish button to disapperar from the Umbraco content editor:

Why? Because the built-in Umbraco preview feature is built for Razor rendering and makes little sense in this headless setting. But now it’s time to bring the button back - in a headless fashion, that is 😜
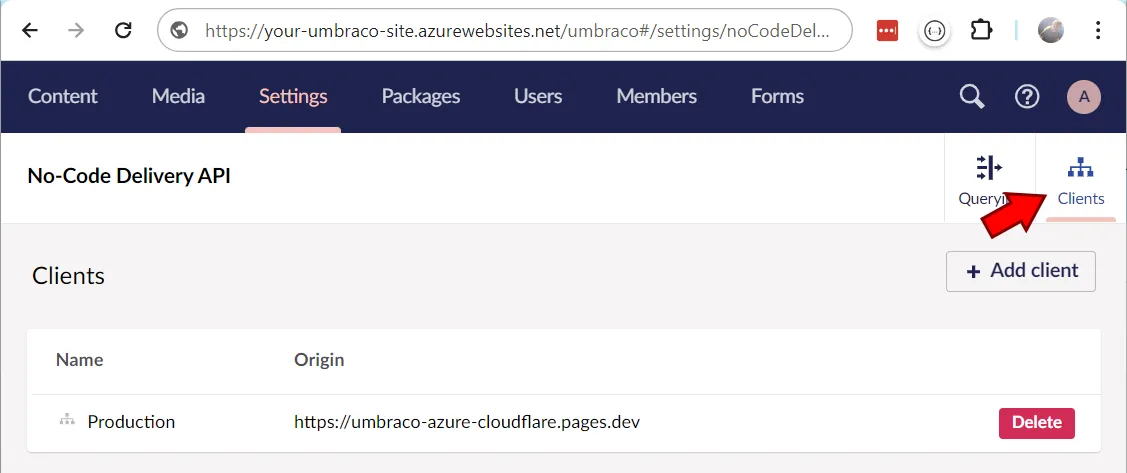
- In the Settings section of Umbraco, click the No-Code Delivery API entry in the left hand navigation, pick Clients and then Add client:
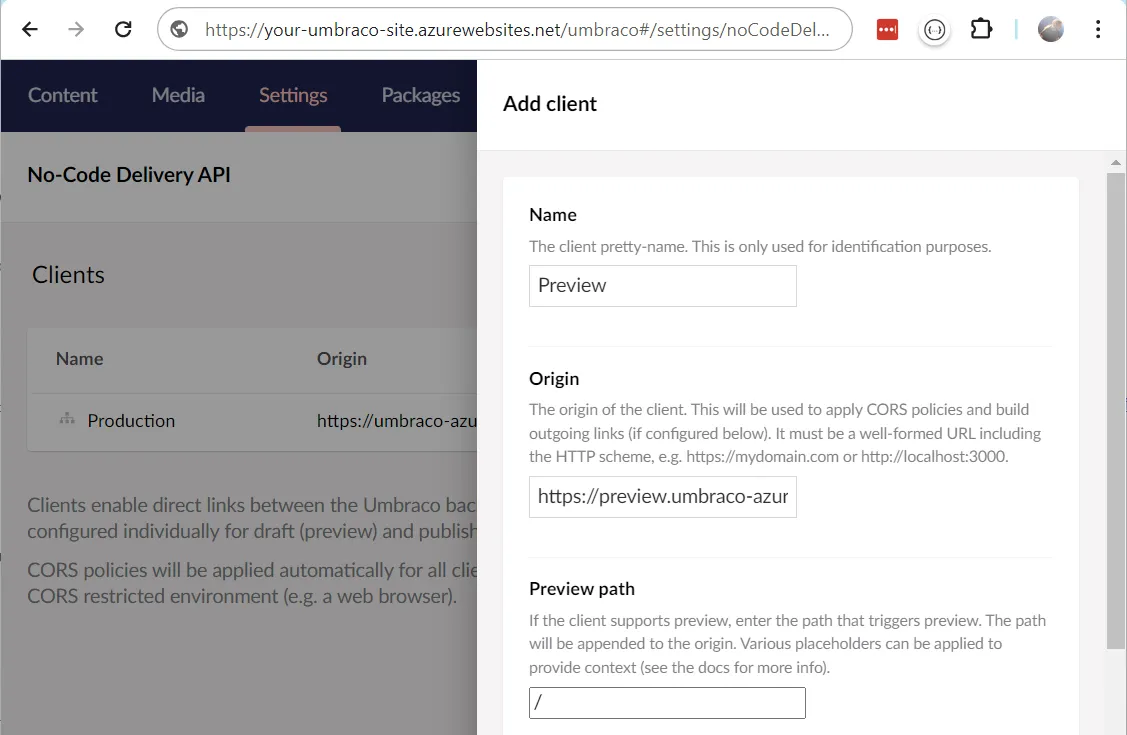
- The new Client can be called whatever makes sense to the editors. I have chosen “Preview”.
- The Origin is the base URL of the preview environment site - “https://preview.umbraco-azure-cloudflare.pages.dev” in my case.
- To make Umbraco use this Client as preview source in the content editor, the Preview path must have a value. Since the preview environment is dedicated for previewing, no magic token has to be passed to trigger a preview, so I can settle for ”/” here.
Save it and go back to the content editor. Lo and behold, the Save and Publish button has reappeared!

Clicking the button saves any unsaved changes and takes the editor straight to the preview environment. Job done.
Happy previewing 💜