Jamstack for free with Azure and Cloudflare

The other day I had to change hosting for one of my hobby projects. This gave me a chance to play around with Cloudflare Pages, and gosh am I impressed!
One thing led to another, and before I knew it I had a fully functional Jamstack project running for absolutely free. Of course this was a complete overkill for the a static one-pager I really needed, but geeks will be geeks 🤓
In the following I’ll walk you through it all. Please keep in mind that this is strictly for personal/hobby projects. For good reason, the free hosting tiers are subject to limitations that definitively make them inapplicable to commercial production sites.
On the flipside, everything here can be applied to real life projects if you use paid tiers 💰
The goal
The goal here is to build a one-pager which pulls data from an API. Since I’m really not much of a frontender, I’ve borrowed a page design from W3Schools - namely The Cafe.
In other words, I’ll be building a cafe website. The API will power the stuff that is expected to change over time (the menu, the about section, opening hours etc.), while everything else will remain static.
If you want to follow along in code, you can fetch the end result from this GitHub repo. Instructions for running the demo are in the GitHub README.
The API
I’ll use Umbraco as my headless CMS, utilizing the Umbraco Delivery API to serve data to the site. The first hurdle then is find a free hosting option for Umbraco.
Azure App Services has a free tier (“F1”), which is intended for trying out and learning the service. It offers a quite limited feature set and very limited resources, and it allows only for 60 CPU minutes per day.
Fortunately, the Umbraco core doesn’t require a lot of resources to run. And as it turns out, Umbraco runs quite comfortably on the F1 plan, as long as it’s not rendering Razor and serving content directly to end users.
Still - compute time is limited on the F1 plan, so I’ve made the most of it by:
- Enabling production mode for added performance.
- Disabling server election during startup. The site will ever only run as a single instance.
- Removing select background jobs that aren’t strictly needed. For example:
- Scheduled publishing won’t work on the F1 plan, because it will go idle quickly.
- For the same reason, the “keep alive” job doesn’t need to be running.
- Cache instructions won’t need processing because the site running a single instance and I’m not extending the core.
I have also installed my two headless packages:
- “No-Code Delivery API” so consuming clients can be defined (because CORS) without custom code.
- ”No-Code Headless Mode” to ensure a little less friction while editing.
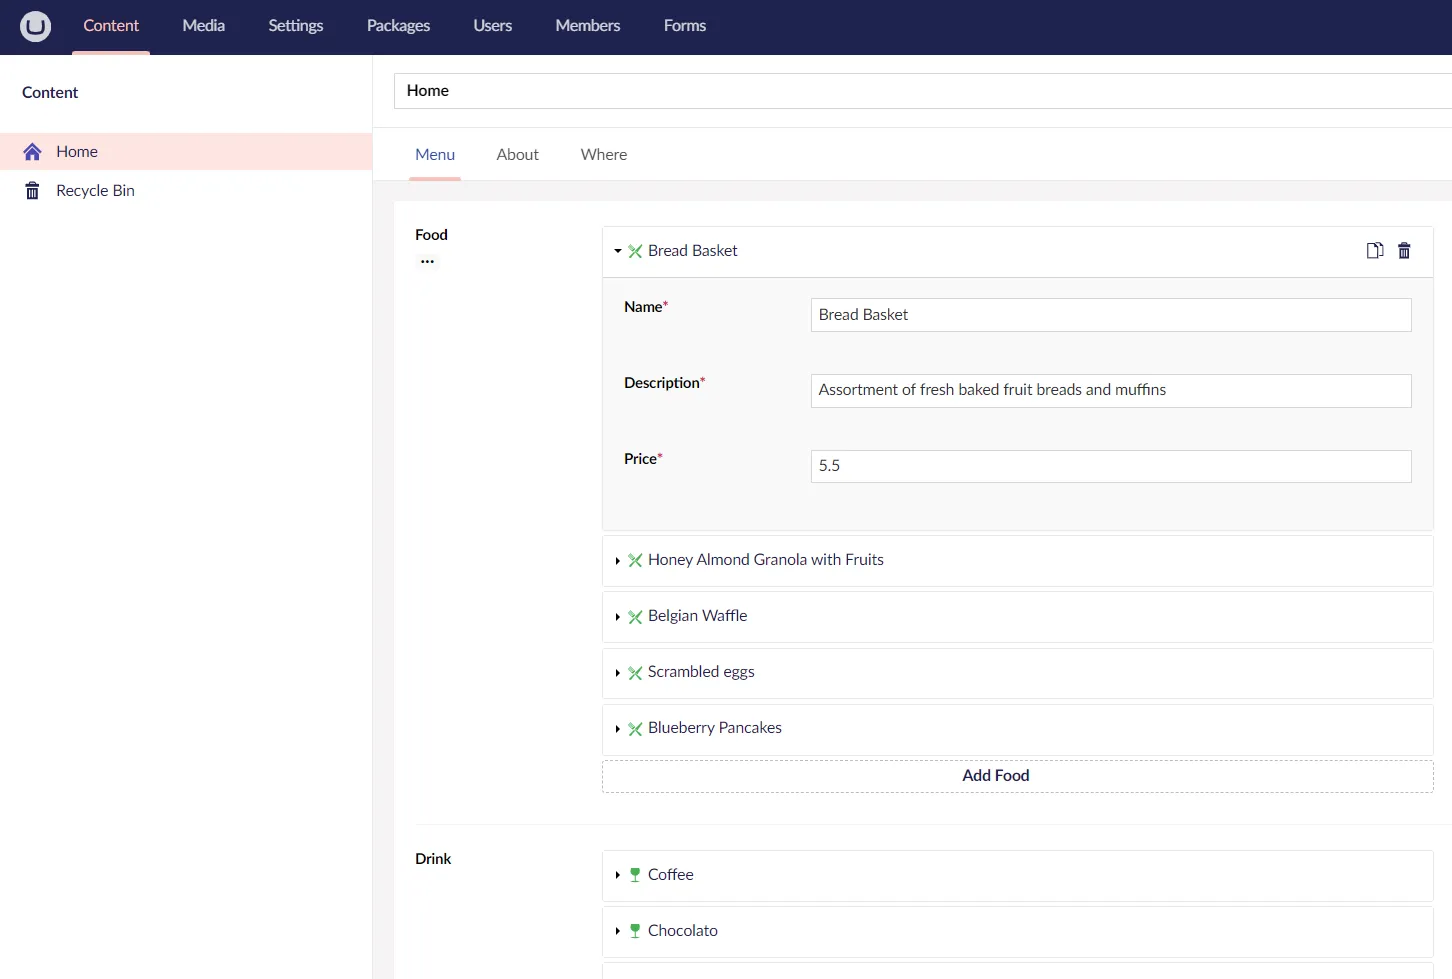
The data model in Umbraco is kept very simplistic, since this is not an exercise in data modelling. There is only one single content item (“Home”), which contains all the data for the one-pager:
The client
A static site generator is needed to build the client. I chose Astro for this, because at the time I had no clue as to how it worked. So I went:
npm create astro@latest -- --template basics
…followed a quick install wizard, and in no time I had a basic Astro site running. Sweet! Time to start hacking 😃
Now, I didn’t bother with perfection here. I just wanted to build a quick one-pager for demo purposes. So I copied all the W3Schools CSS straight into the Layout.astro file 🫣 and all the page content into the index.astro file. Go ahead, frown all you like 😝
I also borrowed some stock photos from Pexels, and tweaked the design a little to make it easier on myself when implementing it.
As for fetching data from the API, this is done in the beginning of index.astro:
const response = await fetch(`${import.meta.env.UMBRACO_SERVER_URL}/umbraco/delivery/api/v2/content/item/home`);
const data = await response.json();
const foodItems = data.properties.food.items.map(item => item.content.properties);
const drinkItems = data.properties.drink.items.map(item => item.content.properties);
Clearly this is not terribly fail safe, but it gets the job done.
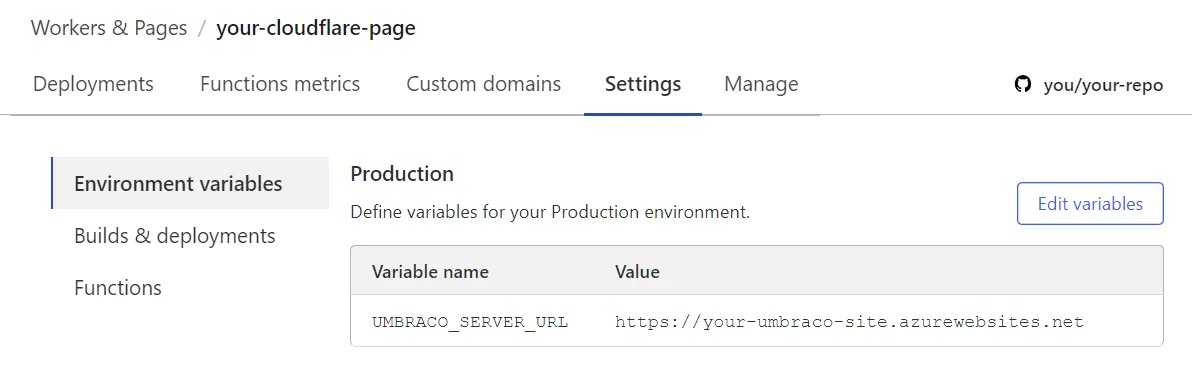
Notice the UMBRACO_SERVER_URL environment variable. This is set in .env.development for local development. A similar environment variable needs configuring in Cloudflare, so data can be fetched from the Azure deployment of Umbraco.
On the subject of .env.development, this file also sets NODE_TLS_REJECT_UNAUTHORIZED=0 to prevent Node.js from rejecting self-signed SSL certificates locally. Normally this works just fine, but it seems a bit of additional tweaking is necessary for use with Astro. In astro.config.mjs it apparently has to be applied explicitly:
const { NODE_TLS_REJECT_UNAUTHORIZED } = loadEnv(process.env.NODE_ENV, process.cwd(), "");
process.env.NODE_TLS_REJECT_UNAUTHORIZED = NODE_TLS_REJECT_UNAUTHORIZED;
Go figure 🤷
Deploying to Cloudflare Pages
Creating a Cloudflare Page and connecting it to a GitHub repo is well documented and rather straightforward, so I won’t go into details about that here.
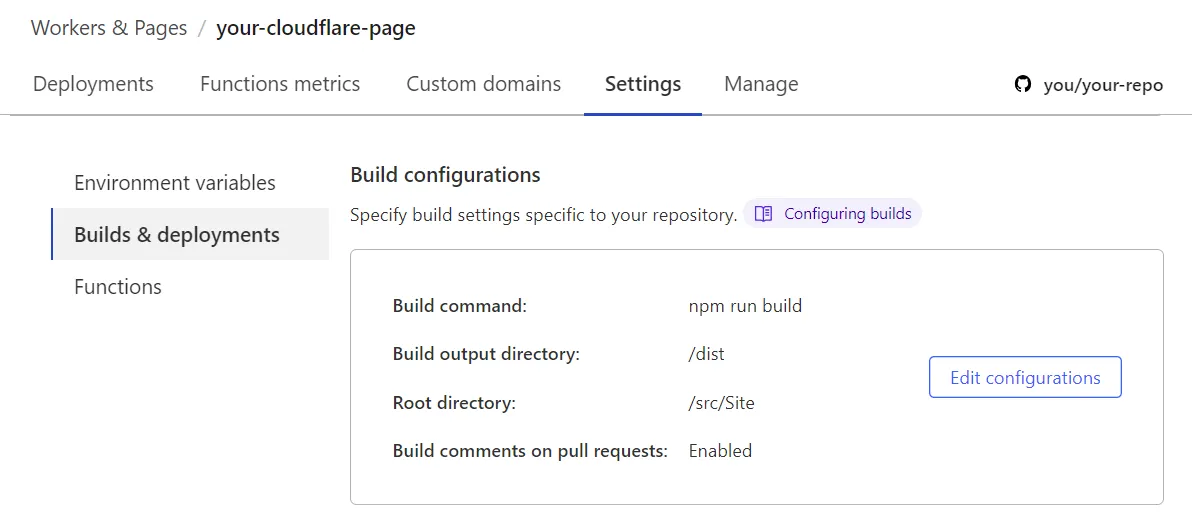
If you’re trying it out for yourself using my sample GitHub repo, you need to tweak the default Astro deployment slightly for your Cloudflare Page:
- The root directory must be
src/site. - The the path to your Azure site must be specified in an
UMBRACO_SERVER_URLenvironment variable.
If you should forget either, you can fix it later under Settings:
Once everything is configured correctly, Cloudflare will monitor your GitHub repo. Any changes to the main branch will automatically trigger a new deployment. That’s pretty smart 🧠
Hooking things up 🪝
Now that the Cloudflare Page is running, the last order of business is to push content changes from Umbraco to Cloudflare. Enter webhooks.
In the Settings section of the Cloudflare Page you can configure Deploy Hooks. A POST request to the Deploy Hook URL will trigger a new deployment of the Cloudflare Page.
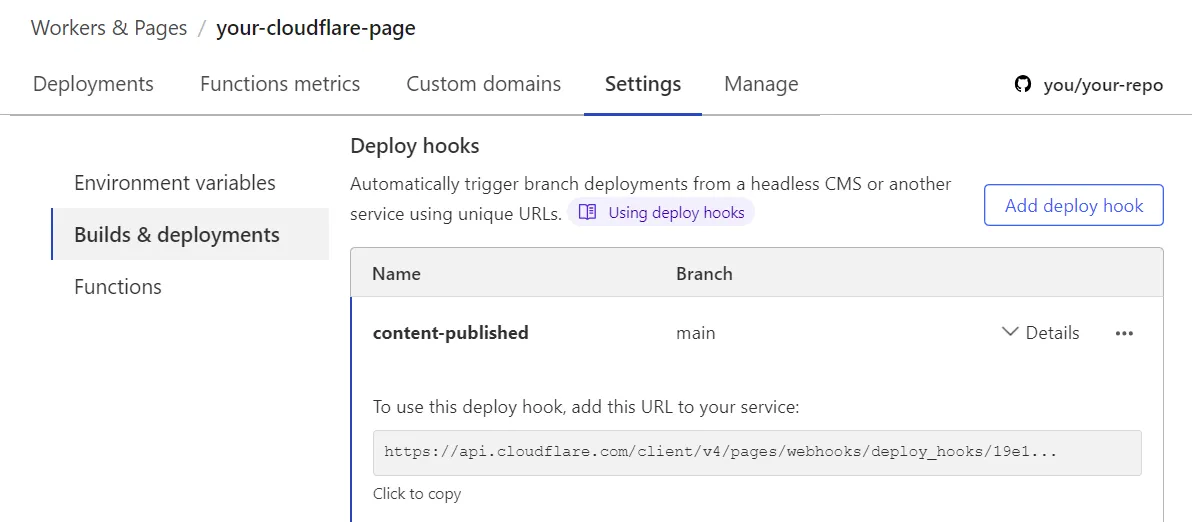
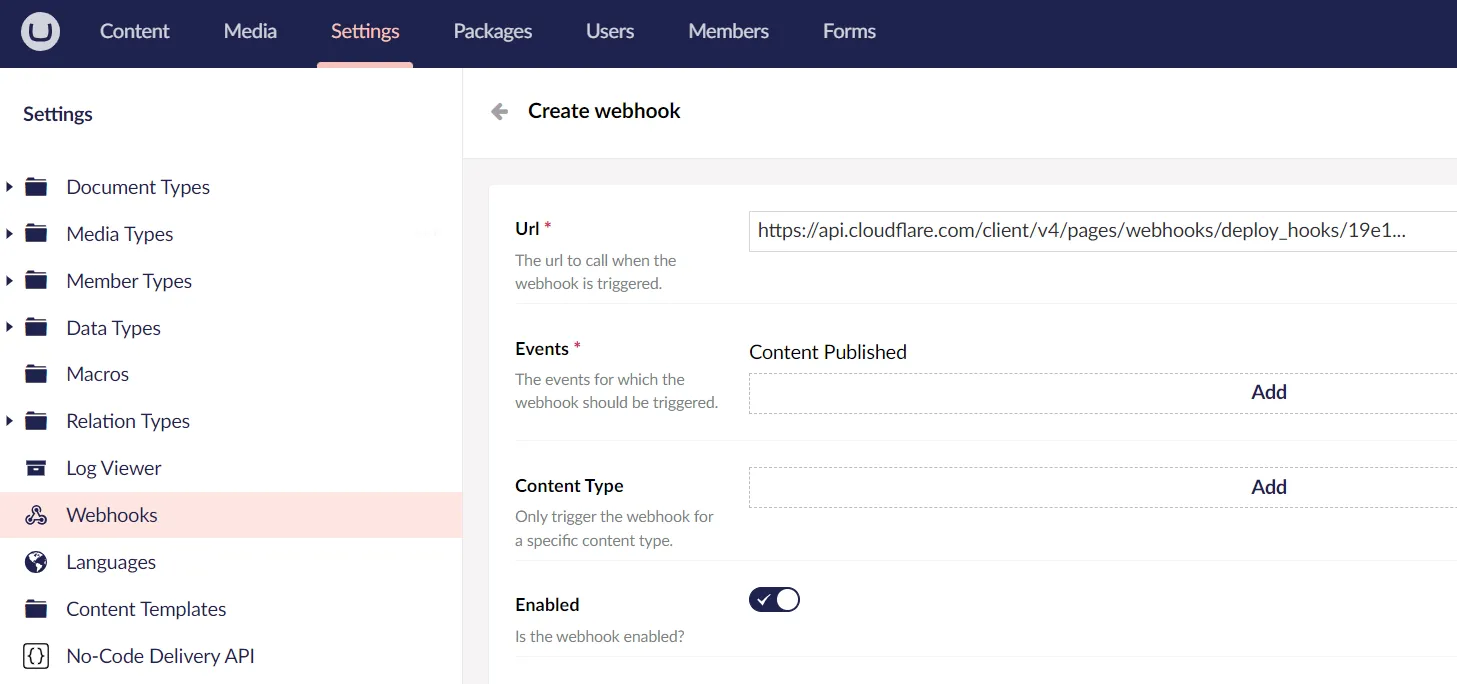
Incidentally, Umbraco features webhooks out of the box. Go to the settings section and create a webhook that is triggered whenever content is published. Since this is a one-pager, any and all content publish events should trigger a deployment, so there is no reason to be fussy about granular control by Umbraco content type.
Now go publish some content changes and marvel as those changes are automatically deployed to the Cloudflare Page ✨🎉
The end result
You can see the end result on this Cloudflare page.
Update: In this post I’m exploring how content preview can be enabled for the site.
Happy hosting 💜